

Introduction: Unleashing the Power of Secure Hauling in Your 8ft Enclosed Trailer
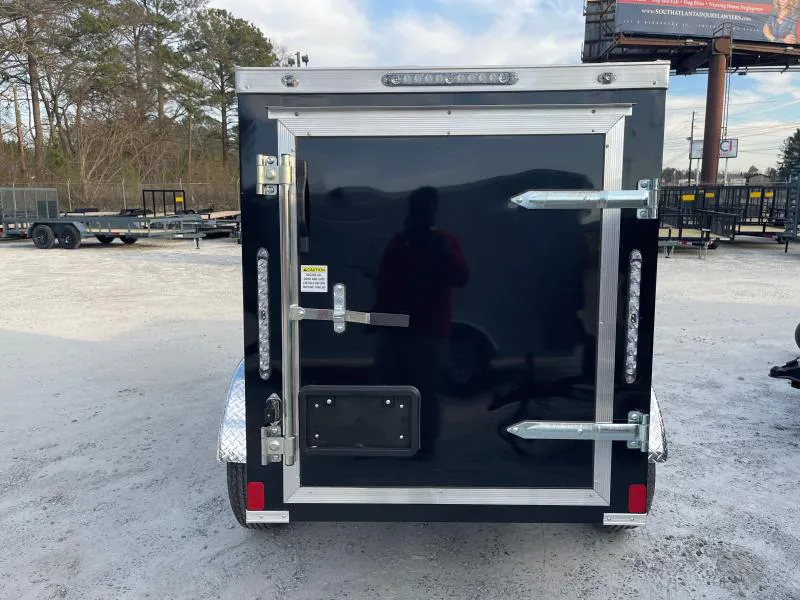
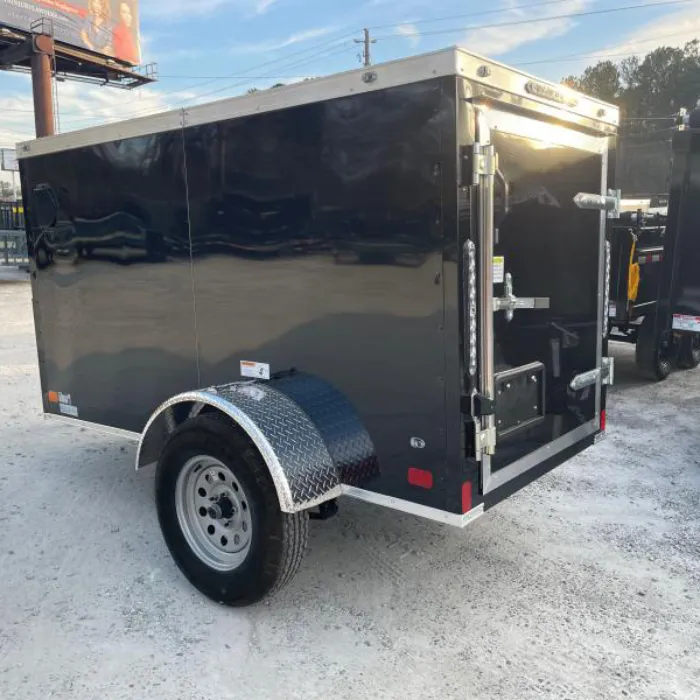
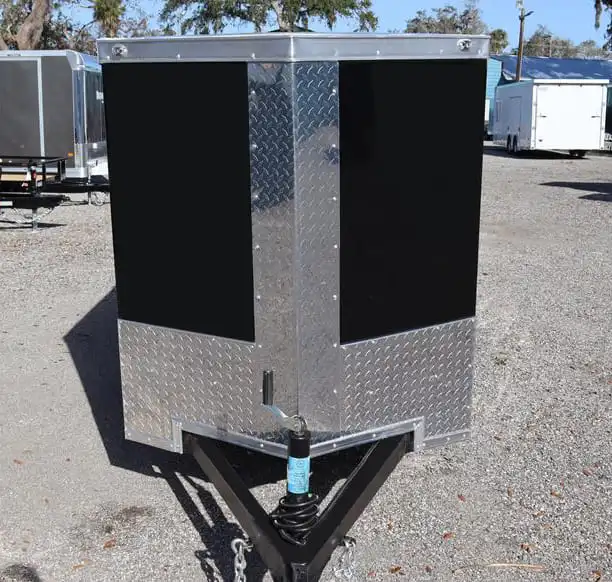
An 8ft enclosed trailer is a versatile asset, perfect for hauling everything from motorcycles and landscaping equipment to valuable business inventory and household goods. But its true potential is only unlocked when the cargo inside is properly secured. Unsecured items can shift, slide, and collide, leading to costly damage, dangerous driving conditions, and significant financial loss. This is where a professional-grade cargo control system becomes not just a convenience, but a necessity.
The Hauling Challenge: Why Cargo Control Matters
Every time you close your trailer door, you’re placing trust in your securement method. A sudden stop, a sharp turn, or a bumpy road can turn an organized load into a chaotic mess. The consequences range from scratched furniture to totaled equipment. Moreover, with cargo theft incidents in the U.S. rising by 49% in a single year according to a 2024 report from Trailer-Alarms.com, securement is also about preventing loss. Effective cargo control isn’t just about tying things down; it’s about creating a stable, predictable environment inside your trailer that protects your investments.
Introducing the Solution: 8ft Enclosed Trailer with E-Track
The E-Track system is the industry standard for versatile and robust cargo securement. It transforms the simple walls and floor of your enclosed trailer into a fully customizable grid of anchor points. Unlike fixed D-rings that offer limited options, E-Track provides hundreds of potential tie-down locations, allowing you to secure any load, regardless of its size or shape. By integrating an E-Track system into your 8ft trailer, you gain unparalleled control, flexibility, and peace of mind.
What You’ll Discover in This Ultimate Guide
This guide will walk you through everything you need to know about outfitting your 8ft enclosed trailer with an E-Track system. We will cover the fundamentals of E-Track, strategic layout planning, step-by-step installation, essential accessories, and proven techniques for securing diverse types of cargo. By the end, you’ll have the knowledge to transform your trailer into the ultimate secure hauling machine.
Understanding the E-Track System: Your Foundation for Secure Hauling
Before planning your layout or turning a single screw, it’s crucial to understand what the E-Track system is and why it has become the preferred solution for professionals and serious hobbyists alike.
What is E-Track? Definition and Core Functionality
E-Track is a system of heavy-duty steel rails featuring multiple anchor slots. These rails are mounted directly to the floor or walls of your trailer. A wide array of specialized accessories—from ratchet straps and D-rings to hooks and hangers—are designed with spring-loaded fittings that click securely into these slots. This modular design allows you to create instant, strong, and repositionable tie-down points exactly where you need them, providing a powerful foundation for superior cargo control.
Why E-Track is Superior for Enclosed Trailer Cargo Control
E-Track’s primary advantage is its versatility. While traditional D-rings provide a handful of fixed anchor points, an E-Track system offers hundreds. This means you can secure oddly shaped equipment, brace large items against walls, and compartmentalize your load with ease. It also excels in organization, allowing for the storage of tools and supplies on the trailer walls, freeing up valuable floor space. The investment in robust load securement is growing, with the global market for these products projected to reach USD 4.5 billion by 2032, underscoring the industry’s shift towards more reliable systems like E-Track.
Vertical vs. Horizontal E-Track Rails: Choosing the Right Orientation for Your 8ft Trailer
E-Track rails come in two main orientations, each suited for different applications:
- Horizontal E-Track: Installed running the length of the trailer walls, horizontal rails are ideal for securing vehicles like ATVs or motorcycles, bracing tall items like cabinets or tool chests, and creating rows of tie-down points at various heights. This is the most common and versatile choice for general-purpose hauling.
- Vertical E-Track: Installed running from floor to ceiling, vertical rails are perfect for creating shelving with beam sockets or securing tall, narrow items. They are also used on the floor to create specific tire chock positions for vehicles.
For a standard 8ft enclosed trailer, a combination of horizontal E-Track on the walls and select floor placements often provides the most comprehensive solution.
E-Track Material and Durability: Steel, Galvanized, Powder Coated, and Zinc Plated Options
The strength of your E-Track system depends heavily on its material and finish. Most E-Track is made from high-strength 12-gauge steel. The finish protects this steel from rust and corrosion, which is essential inside an enclosed trailer where moisture can accumulate.
- Galvanized: A zinc coating provides excellent corrosion resistance, making it a durable, long-lasting choice.
- Powder Coated: This finish offers a tough, paint-like protective layer that is resistant to chipping and scratching, often available in colors like black or grey for a clean look.
- Zinc Plated: Similar to galvanizing, this provides a protective zinc layer for good corrosion resistance.
Strategic Planning: Optimizing Your 8ft Enclosed Trailer Layout with E-Track
A successful E-Track installation begins with a solid plan. Thoughtful placement of your E Track rails will maximize your trailer’s utility and ensure you can secure any load you intend to haul.
Assessing Your Trailer’s Needs: Common Cargo and Use Cases
Before you measure or drill, consider what you will be hauling most often.
- Vehicles (ATVs, Motorcycles): You’ll need floor-mounted E-Track for wheel chocks and tire straps, plus horizontal wall tracks for side-to-side stabilization.
- Landscaping Equipment (Mowers, Tillers): A combination of floor and low-wall E-Track is effective for securing wheeled equipment and preventing it from rolling.
- Furniture/Moving: Two or three rows of horizontal wall E-Track provide ample points to brace tall dressers and strap down furniture.
- General Contracting Tools: Vertical wall tracks can be used with E-Track accessories like hooks and bins for efficient tool storage and organization.
Maximizing Space: Optimal E-Track Placement for an 8ft Trailer
For a typical 8ft enclosed trailer, a common and highly effective layout includes:
- Two Rows of Horizontal Wall E-Track: Install one row at approximately 24 inches off the floor and a second row at 48-60 inches. This covers the most common heights for securing a wide variety of items.
- Floor E-Track: Consider installing two parallel runs of E-Track on the floor, spaced to match the wheelbase of a vehicle you frequently haul. This allows for precise placement of wheel chocks and tie-downs. Alternatively, surface-mounted E-Track can be installed along the floor/wall seam.
Essential Layout Considerations: Floor Space, Wall Space, and Bracing Points
Think about how you use your trailer. Preserve clear floor space for walking and loading. Ensure wall-mounted E-Track is attached to the trailer’s structural frame members (studs) for maximum strength. The goal is to create strong bracing points that allow you to pull straps across, down, and forward to secure your load against all forces of movement.
Measuring and Marking Your E-Track Installation
Precision is key. Use a tape measure, level, and pencil or chalk line to mark the exact placement of your E-Track rails. Ensure your lines are straight and level. When marking screw holes, double-check that they align with your trailer’s wall studs or floor crossmembers. A well-planned and marked layout prevents wasted effort and ensures a professional, secure installation.
Step-by-Step Installation: Getting Your E-Track System Ready
With your layout planned and marked, you’re ready to install the E-Track system. Proper installation is critical for safety and performance; the rails are only as strong as their attachment to the trailer.
Required Tools and Materials for Installation
Gather your tools and materials before you begin:
- Tools: Drill with appropriate bits, impact driver or socket wrench, tape measure, level, safety glasses.
- Materials: E-Track rails, E-Track fasteners (e.g., self-tapping screws for metal frames, lag bolts for wood floors), and sealant (optional, for floor installs). The correct screws are vital for achieving the system’s rated strength.
Preparing Your Trailer Walls and Floor for E-Track
Clear the trailer of all cargo and debris. If your trailer has interior paneling like plywood, locate the vertical steel studs behind it. You can do this by finding the existing screw lines or using a stud finder. Mounting directly to these structural members is essential for wall installations. For the floor, identify the locations of the crossmembers underneath.
How to Install E-Track Rails: Floor or Wall Install Techniques
- Position the Rail: Place the first section of E-Track along your marked line.
- Drill Pilot Holes: Drill pilot holes through the E-Track mounting holes and into the trailer’s frame or floor crossmembers. This makes driving the screws easier and prevents stripping.
- Secure with Fasteners: Drive the appropriate screws or bolts through the E-Track and into the structure. Use a fastener in every mounting hole for maximum strength. Ensure each screw is tightened securely.
- Continue and Align: Butt the next section of E-Track up against the first and continue the process, ensuring the rails remain perfectly aligned.
- Seal (Floor Only): If installing on the floor, you can apply a bead of silicone sealant around the edges of the E-Track to prevent water from seeping underneath.
Post-Installation Checks and Tips
Once all rails are installed, give each one a firm tug to ensure it is solidly attached. Visually inspect all screws to confirm they are fully seated. Test a few E-Track accessories by clicking them in and out of various slots along each rail to ensure proper function.
Essential E-Track Accessories: Building Your Secure Hauling Toolkit
The E-Track rails are the foundation, but the accessories are what give the system its incredible versatility. Building a collection of the right accessories allows you to adapt to any cargo control challenge.
Understanding E-Track Tie Downs: Straps, Hooks, and Rings
- Ratchet Straps: These are the workhorses of any E-Track system. A 2-inch wide ratchet strap is standard for most loads, allowing you to apply significant tension to hold heavy items firmly in place.
- Cam Buckle Straps: These are ideal for more delicate items. They are tightened by hand-pulling the strap, preventing over-tightening that could damage fragile cargo.
- Rope Tie-Offs & D-Rings: These small fittings click into the E-Track and provide an anchor point for traditional ropes or straps with hook ends, adding another layer of flexibility.
Specialized Cargo Securing Solutions
Beyond basic straps, a world of specialized accessories exists. Wheel chocks snap into floor E-Track to immobilize vehicles. Tire bonnets or straps wrap around the tire, securing the vehicle without compressing its suspension. Wood beam sockets allow you to use standard 2x4s to create shoring beams or custom shelving.
E-Track Storage and Organization Accessories
E-Track isn’t just for securing a load; it’s also for organizing your trailer. J-hooks are perfect for hanging cords and hoses. Baskets and bins can hold small tools and supplies. There are even specialized hangers for landscaping tools like string trimmers and leaf blowers, keeping them off the floor and out of the way.
The Importance of Quality Accessories: Heavy Duty and WSTDA Standards
Always choose high-quality accessories. Look for products that list a Working Load Limit (WLL), which is the maximum load a component can safely handle. The WLL is typically one-third of the breaking strength. Reputable manufacturers adhere to standards set by the Web Sling & Tie-Down Association (WSTDA) to ensure their product ratings are accurate and reliable.
Mastering Cargo Securement: Techniques for Diverse Loads in Your 8ft Trailer
With your E-Track system and accessories ready, it’s time to learn the principles of properly securing your cargo.
General Principles of Load Securement: Weight Distribution, Tension, and Friction
Effective cargo control relies on three principles. First, distribute the weight of your load evenly in the trailer, with about 60% of the weight forward of the trailer axle. Second, apply sufficient tension with tie-downs to eliminate any movement. Third, maximize friction between the cargo and the floor; rubber mats can help. Your E-Track system is the tool you use to apply the necessary forces to achieve this stability.
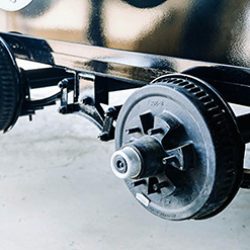
Securing Vehicles: ATVs, UTVs (e.g., XP1000, X3 Max), and Motorcycles
For vehicles, the goal is to secure the wheels and let the vehicle’s own suspension absorb bumps.
- Position the vehicle in the trailer and place wheel chocks from your E-Track system in front of and behind at least one tire.
- Use tire bonnets or over-the-wheel straps that connect to the floor E-Track on either side of each tire.
- Tighten the straps just enough to be snug. This method secures the machine without placing unnecessary strain on its shocks and seals.
Hauling Furniture and Household Items: Storage Containers, Bracing, and Blankets
When moving, use your horizontal wall E-Track to your advantage.
- Load the heaviest items first and place them against the front wall.
- Use ratchet straps connected to the wall E-Track to create a “wall” that holds items in place.
- For tall items like dressers or refrigerators, run straps across their front at two different heights to prevent tipping. Use moving blankets to protect surfaces from the straps.
Transporting Landscaping Equipment and Tools
Secure mowers by running straps from the wall E-Track, across the body of the machine, and down to an anchor point on the opposite side. This creates downward pressure to keep it planted. Use specialized E-Track hooks and hangers to mount trimmers, blowers, and other tools securely on the walls, maximizing your floor space for larger equipment.
Conclusion
Upgrading your 8ft enclosed trailer with an E-Track system is one of the most valuable investments you can make. It elevates your trailer from a simple container to a sophisticated, secure, and highly efficient hauling platform. By moving beyond inadequate, single-point tie-downs to a fully integrated cargo control system, you are actively protecting your valuable equipment, vehicles, and goods from damage during transit.
The true power of the E-Track system lies in its modularity and versatility. From planning a strategic layout that caters to your specific cargo needs, to executing a robust installation and building a toolkit of essential accessories, you now have a comprehensive roadmap. Remember to apply the principles of proper load securement—balancing weight, applying correct tension, and using your E-Track to brace items against movement in all directions. By doing so, you ensure that every load, whether it’s for work or play, arrives at its destination in the same condition it left. Take the next step and begin planning your E-Track layout today to unlock the full potential of your enclosed trailer.